 Merken
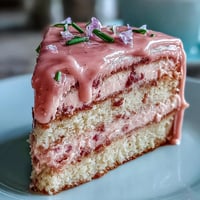
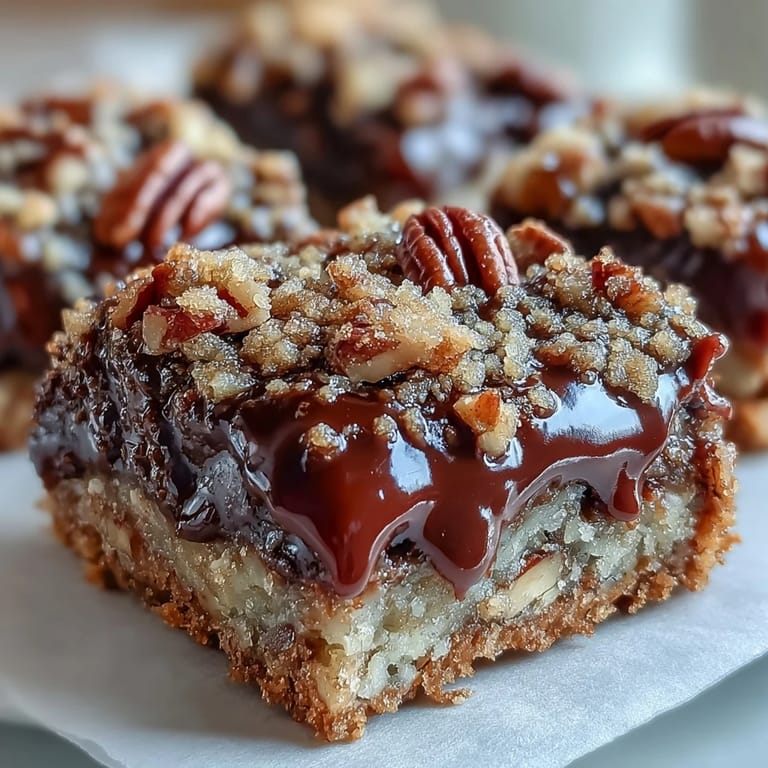
 My sister called me in a panic one afternoon because she'd promised her book club homemade dessert bars but had nothing prepared. I rummaged through my pantry and found oats, pecans, and a jar of caramel sauce, and suddenly these turtle bars came together like magic. The combination of that gooey caramel hitting warm chocolate on a buttery oat crust felt like I'd discovered something I'd been missing all along, and now I make them whenever I need to turn a kitchen moment into something memorable.
When I brought these to a neighborhood potluck last spring, someone asked for the recipe before they'd even finished their first bar, and that's when I knew I'd created something worth repeating. There's something about melted chocolate pooling into the caramel that makes people pause mid-conversation, and watching that happen never gets old.
Ingredients
- All-purpose flour: This is your structure, keeping everything from sliding apart during baking.
- Rolled oats: They add heartiness and a subtle nuttiness that chocolate and caramel love; don't use instant oats or they'll dissolve.
- Brown sugar and granulated sugar: The brown sugar brings moisture and molasses depth, while granulated sugar helps everything bind.
- Unsalted butter, melted: Melting it first ensures even distribution through the crumb mixture, so no dry spots hide in the pan.
- Salt: A quarter teaspoon awakens all the sweet flavors without making anything taste salty.
- Baking soda: This helps the topping achieve that perfect golden-brown crispness.
- Semi-sweet chocolate chips: Don't skimp here because they're what make people close their eyes on the first bite.
- Pecans, chopped: Their buttery earthiness balances the sweetness, though walnuts work beautifully too.
- Caramel sauce: Store-bought is fine, but homemade feels like a small act of love.
- Heavy cream: This loosens the caramel so it spreads evenly without pooling in one corner.
Tired of Takeout? 🥡
Get 10 meals you can make faster than delivery arrives. Seriously.
One email. No spam. Unsubscribe anytime.
Instructions
- Heat your oven and prepare:
- Set the oven to 350°F and grease your 9x9-inch pan thoroughly; I like parchment paper because it gives you something to lift the whole thing out with later. This step takes thirty seconds and saves you heartbreak.
- Build your crumb base:
- Combine flour, oats, both sugars, melted butter, salt, and baking soda in a large bowl until everything looks like wet sand. The butter should glisten throughout without any dry flour pockets hiding at the bottom.
- Split and press:
- Set aside one cup of this mixture for your topping, then press the rest firmly and evenly into the pan with your fingertips. You want a solid, even layer that will hold up to the layers above it.
- Pre-bake the foundation:
- Bake the crust alone for ten minutes until it turns slightly golden and smells toasted. This short bake sets the structure so it won't crumble when you add the fillings.
- Warm the caramel mixture:
- While the crust bakes, gently heat your caramel sauce with heavy cream in a saucepan over medium-low heat, stirring constantly until smooth. This prevents the caramel from breaking and helps it flow like liquid gold across your chocolate.
- Layer your treasures:
- Remove the crust from the oven and immediately scatter chocolate chips across the warm surface, then add your chopped pecans. The residual heat softens the chocolate just enough without melting it completely.
- Pour the caramel:
- Drizzle your warm caramel sauce evenly over the chocolate and pecans, letting it settle into all the crevices. Work slowly and deliberately so it distributes rather than pools.
- Crown with crumbs:
- Sprinkle that reserved crumb mixture across the caramel layer, distributing it so no bare spots remain. This becomes your golden topping and texture contrast.
- Final bake:
- Return to the oven for fifteen to twenty minutes until the topping turns deep golden brown and the caramel bubbles slightly at the edges. You'll smell when they're ready before your timer goes off.
- Cool with patience:
- Let them cool completely in the pan on a wire rack before cutting; this is crucial because warm bars will crumble apart. Once cool, use a sharp knife to cut into sixteen squares, wiping the blade between cuts for clean edges.
 Merken
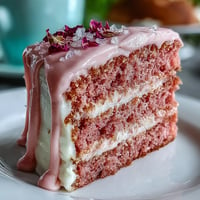
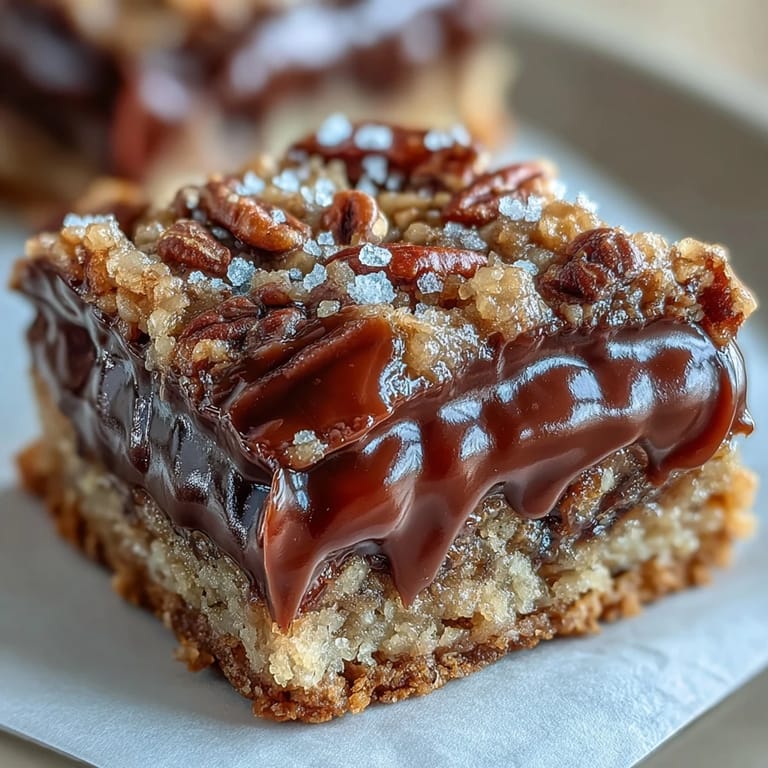
 There's a moment when you pour that warm caramel over the chocolate and pecans, and it catches the light just right, and you know these bars will be something special. It's one of those small kitchen moments that reminds you why baking matters.
The Magic of Layering
These bars work because each layer does its job without competing for attention. The oat crust grounds everything with its sturdy, subtle flavor, chocolate and pecans bring richness and nuttiness, caramel adds moisture and sweetness, and the golden crumb topping delivers texture. I've made versions where I've skipped the pre-baking step, and the crust stayed doughy instead of firm, which taught me that sometimes the steps that feel unnecessary are actually essential.
Storage and Keeping
These bars stay fresh in an airtight container for up to a week, though they rarely last that long around my house. The caramel keeps them moist and chewy even as they age, which is another reason this recipe feels forgiving compared to drier bar cookies. I've wrapped them individually in parchment paper for gifting, and they travel beautifully without falling apart.
Ways to Make Them Your Own
The foundation is solid, but this recipe invites experimentation once you understand how the layers work. Walnuts or almonds replace pecans without missing a beat, and a pinch of sea salt sprinkled over the caramel before the topping creates a grown-up sweet-salty dialogue. Some nights I've drizzled melted dark chocolate across the top of cooled bars for extra indulgence, which transforms them into something restaurant-worthy.
- For salted caramel bars, sprinkle sea salt over the caramel layer just before adding the crumb topping so it stays visible.
- Dark chocolate chips add deeper richness if you prefer less sweetness, though timing and mixing stay exactly the same.
- If your caramel sauce is very thick, add an extra tablespoon of cream to ensure it spreads smoothly across the chocolate layer.
 Merken
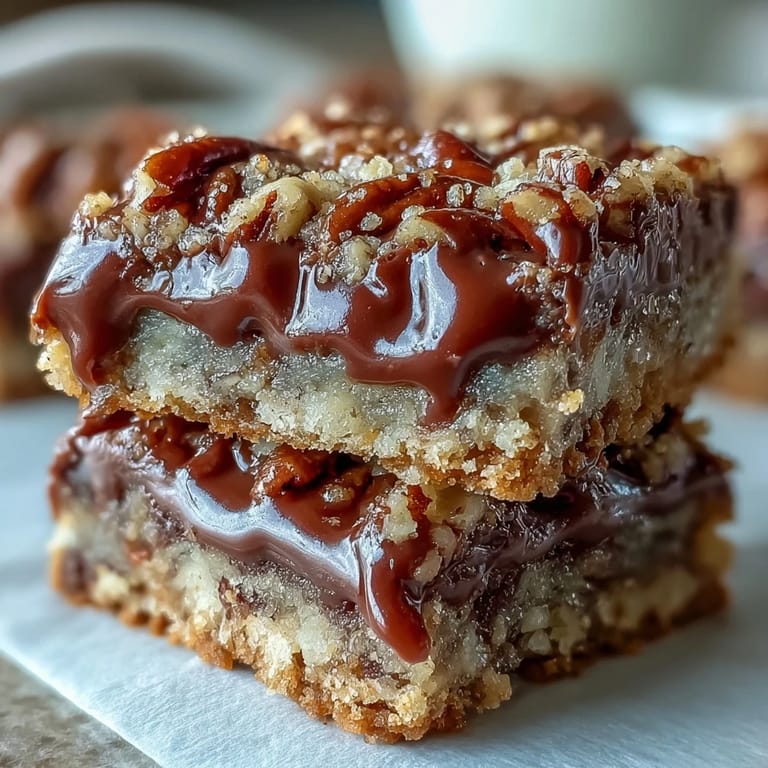
 These turtle bars have become my answer to the question, what should I bake when I want to feel like a real baker? They deliver impressive results with straightforward technique, which might be the kindest gift a recipe can offer.
Fragen & Antworten zum Rezept
- → Wie lange müssen die Riegel abkühlen bevor man sie schneiden kann?
Die Riegel müssen vollständig abkühlen, was etwa 30-60 Minuten dauert. Warmes Karamell ist zu flüssig und würde herauslaufen. Geduld ist hier wichtig für saubere, definierte Schnitte.
- → Kann ich selbstgemachtes Karamell verwenden?
Absolut. Selbstgemachtes Karamell funktioniert hervorragend und bringt oft intensiveren Geschmack. Mische es einfach mit etwas Sahne für die richtige Konsistenz vor dem Auftragen.
- → Welche Nüsse passen am besten zu diesem Dessert?
Pekannüsse sind klassisch und bringen süß-nussige Noten. Walnüsse funktionieren ebenfalls gut, während Mandeln eine etwas mildere Alternative bieten. Wähle was du am liebsten magst.
- → Warum muss ein Teil der Krümel reserviert werden?
Die reservierte Krümelmasse bildet die goldene Topping. Ohne diese würde die Karamellschicht direkt backen und ihre köstliche Konsistenz verlieren. Die obere Schicht schützt und ergänzt gleichzeitig.
- → Kann ich diese Riegel einfrieren?
Ja, diese Riegel lassen sich hervorragend einfrieren. Wickle einzelne Portionen in Frischhaltefolie und friere sie bis zu 3 Monaten ein. Vor dem Servieren einfach über Nacht im Kühlschrank auftauen lassen.
- → Wie erkenne ich dass die Riegel fertig gebacken sind?
Die Topping sollte gleichmäßig goldbraun sein und du beginnst Karamell an den Rändern Blasen zu sehen. Die Mitte darf noch leicht weich erscheinen – sie wird beim Abkühlen fest.